1. Create from the VR template
1
Open Unreal Engine
Launch from the Epic Games Launcher.
2
Pick the Virtual Reality template
On the New Project screen → Games → Virtual Reality.
3
Name and create
Set the project name and location, then Create.
2. Enable Pixel Streaming
1
Open Plugins
Edit → Plugins, search “Pixel Streaming”.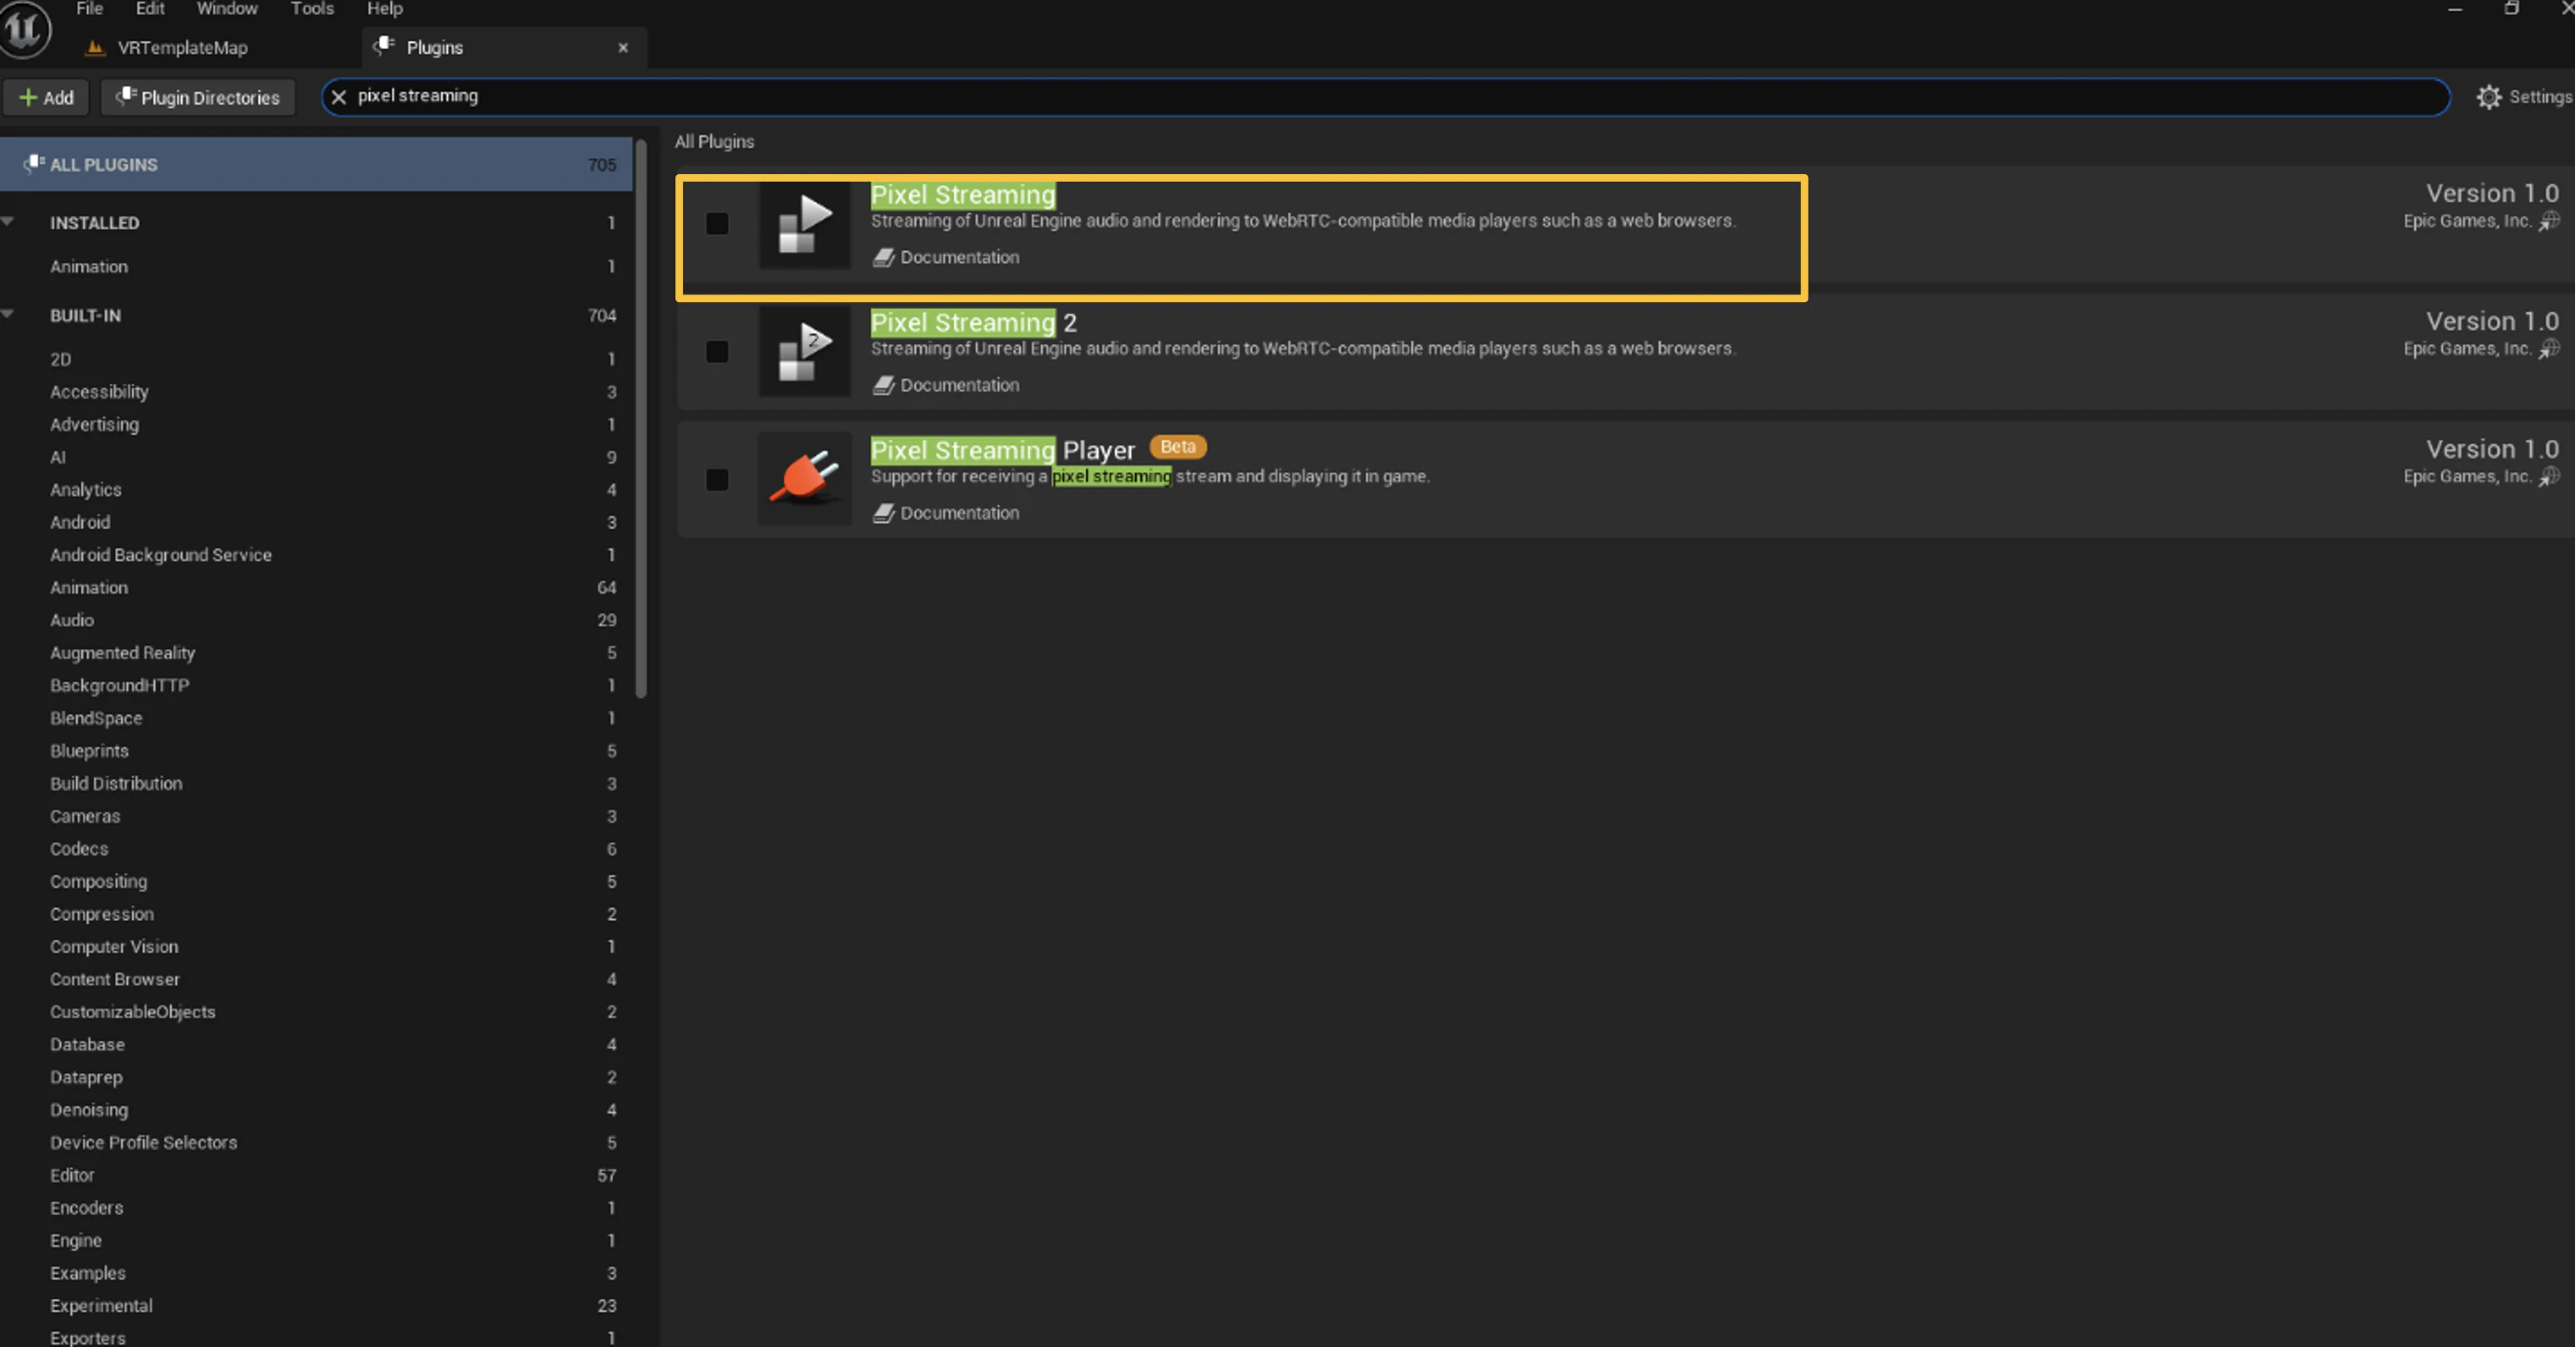
2
Enable and restart
Check Enabled, then click Restart Now.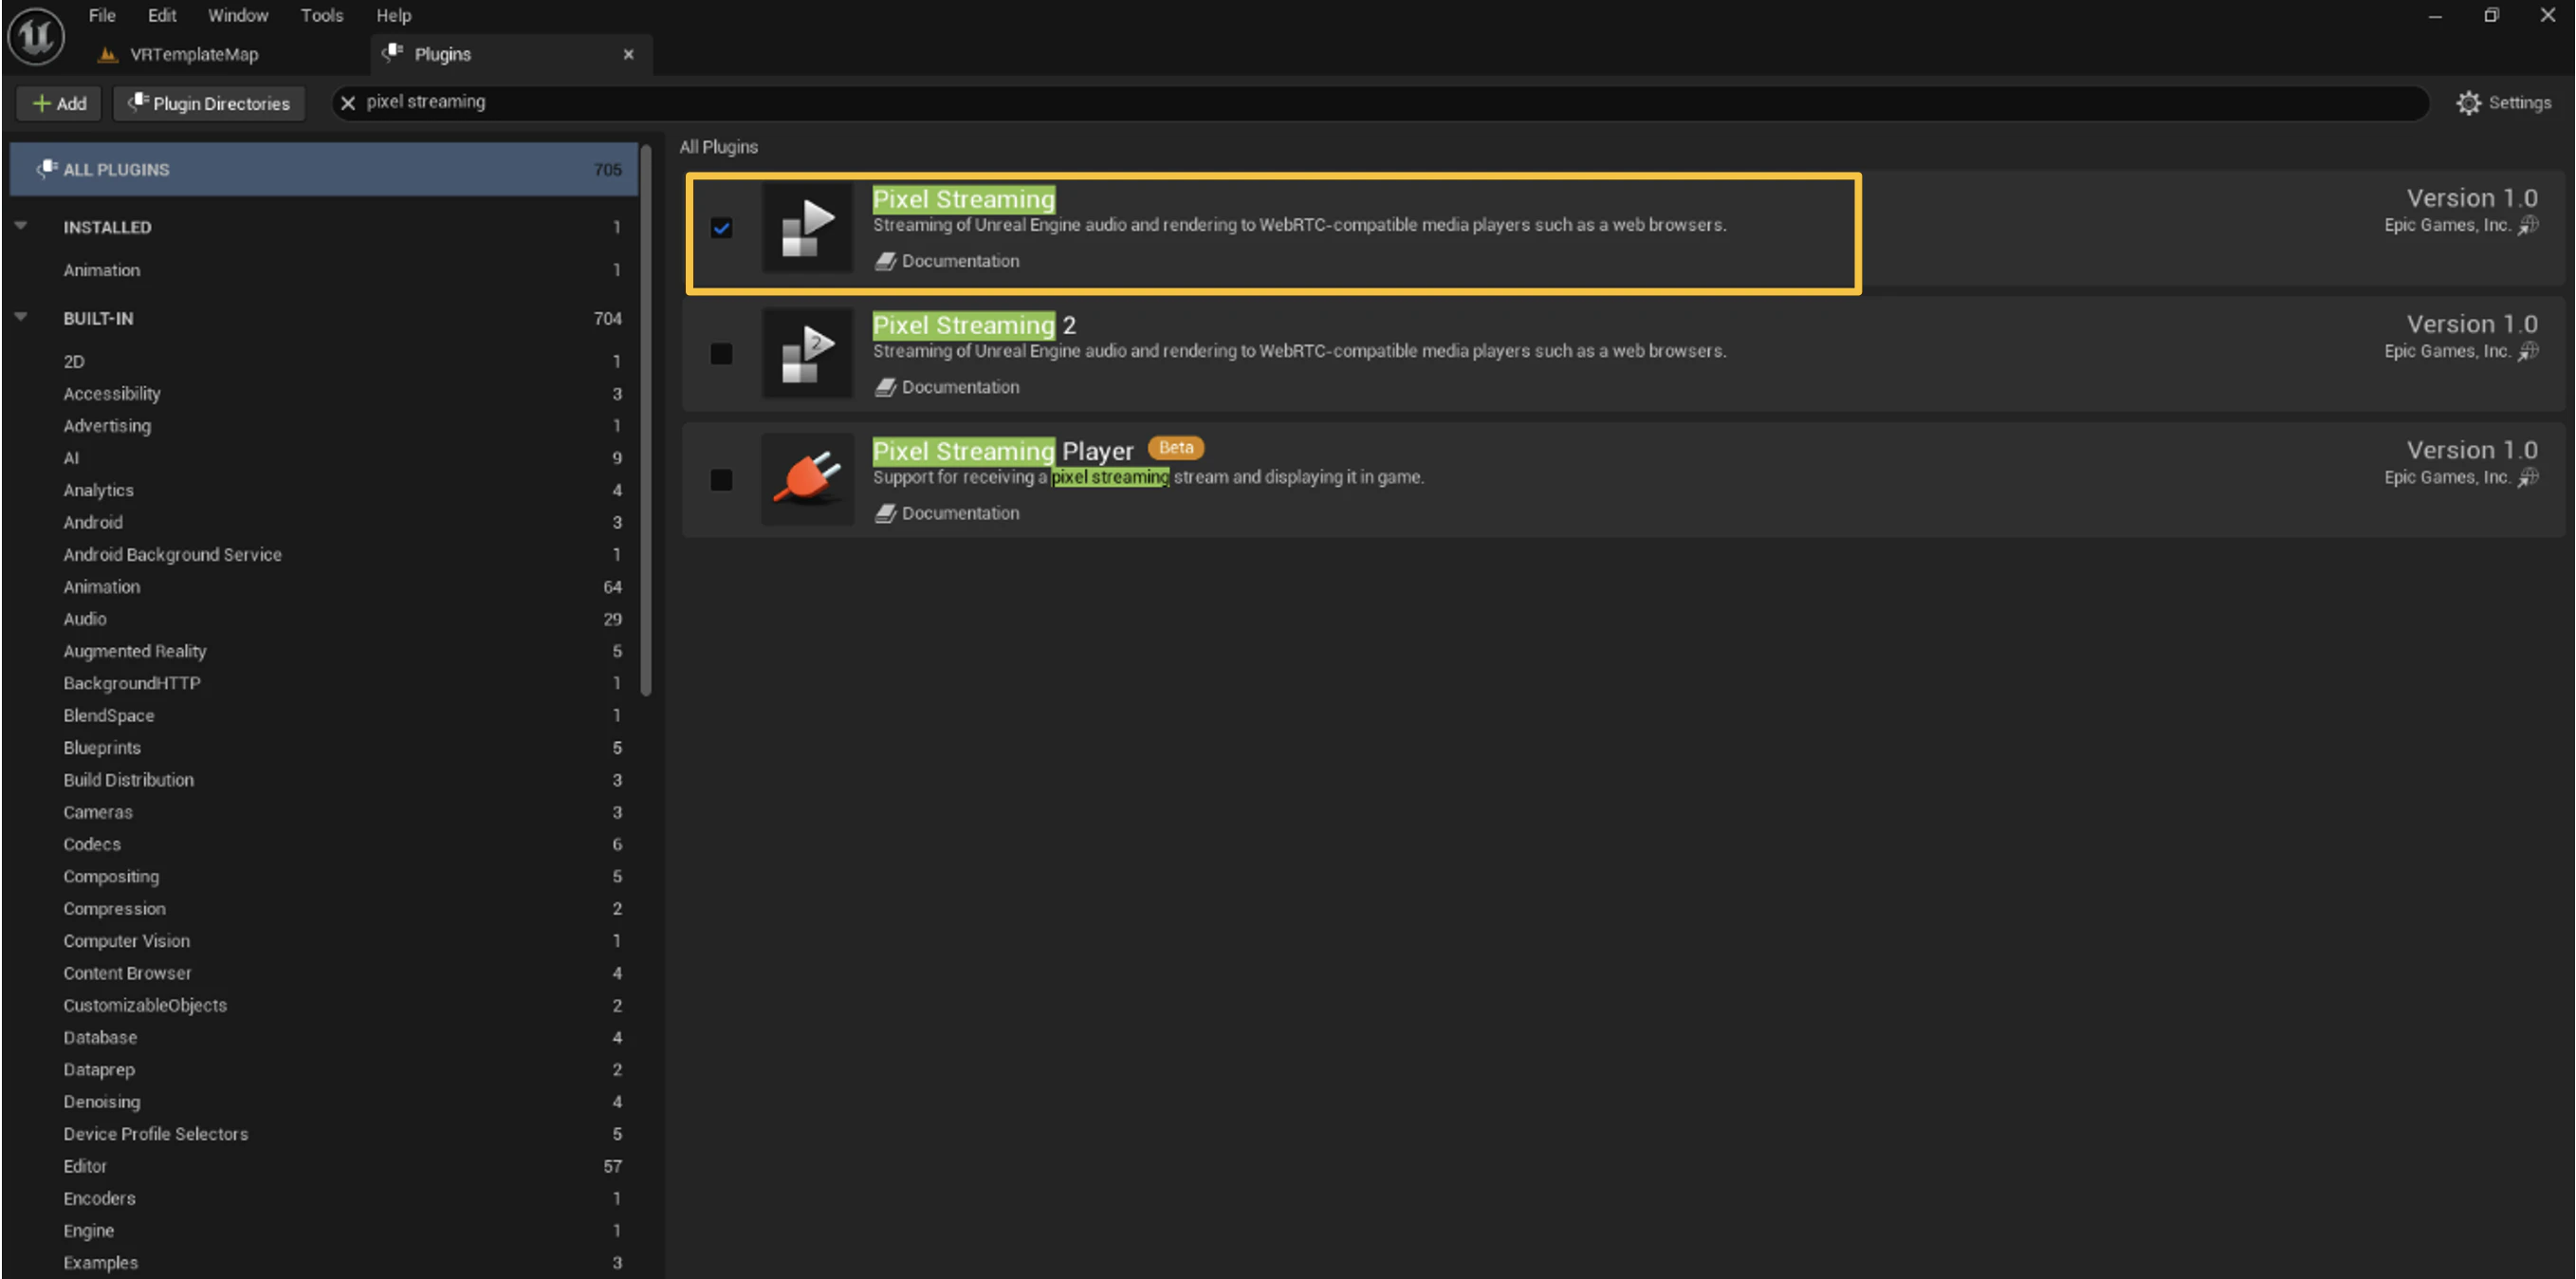
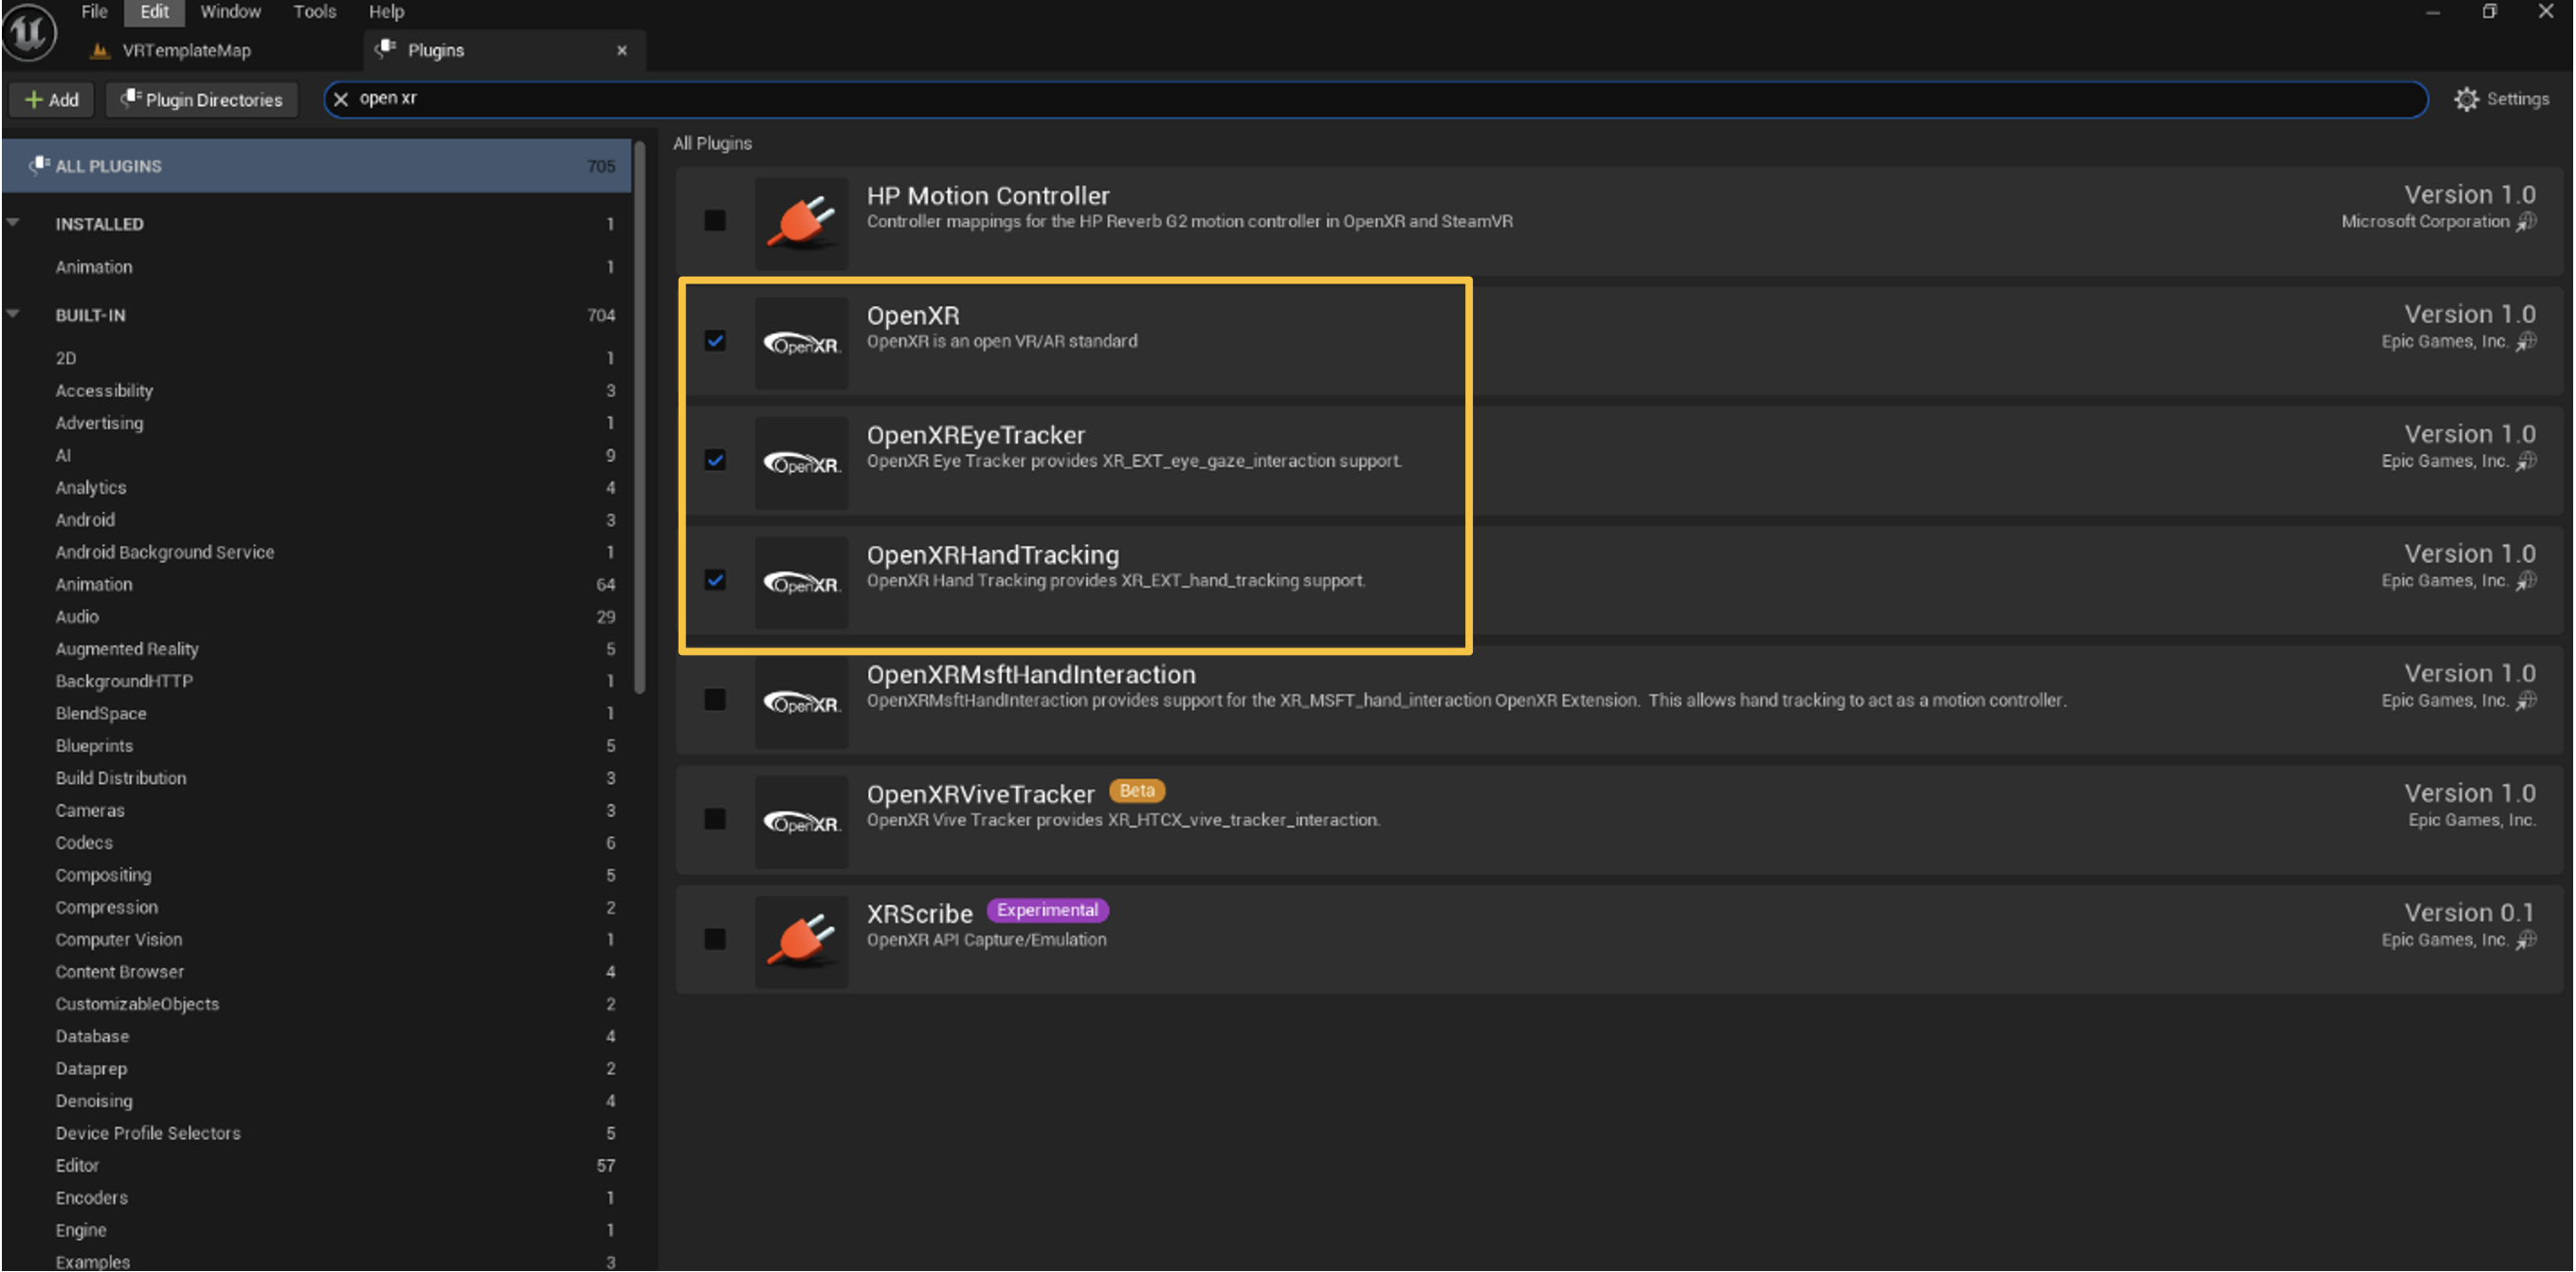
3. Disable OpenXR
OpenXR conflicts with Pixel Streaming. Disable it before packaging.1
Search for OpenXR in Plugins
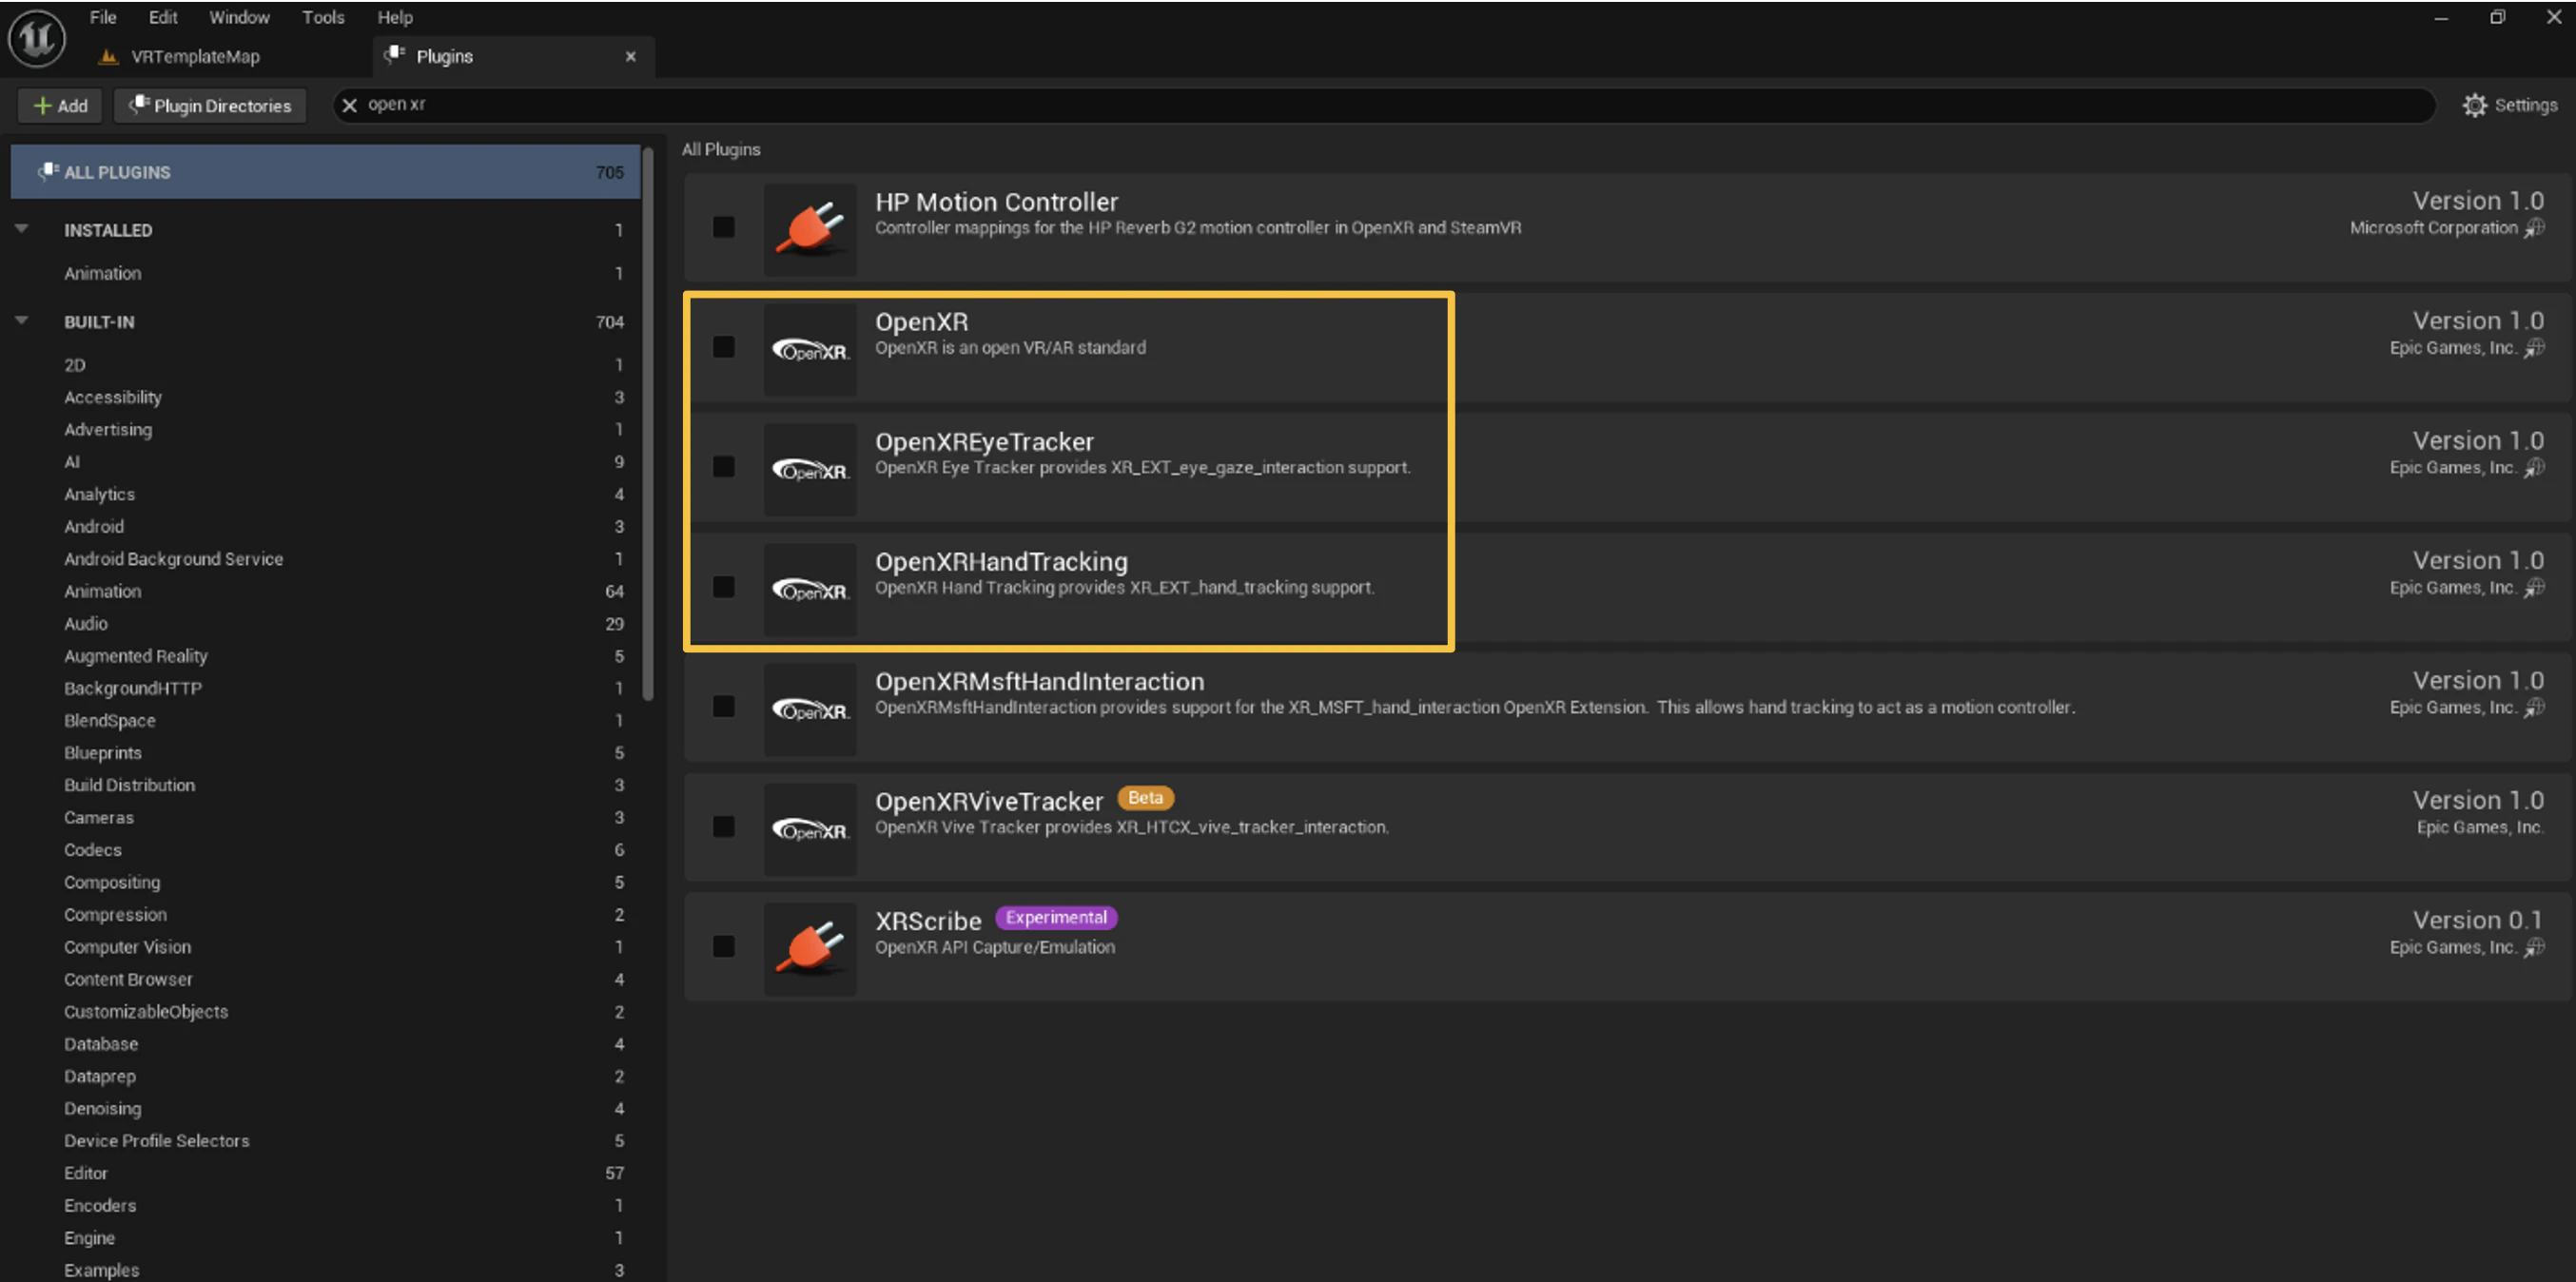
2
Uncheck Enabled and restart
4. Delete BP_AssetGuideline
The default VR template ships an asset that breaks Pixel Streaming. Delete it.1
Open the Content Browser
Ctrl + Space.2
Find BP_AssetGuideline
Path: 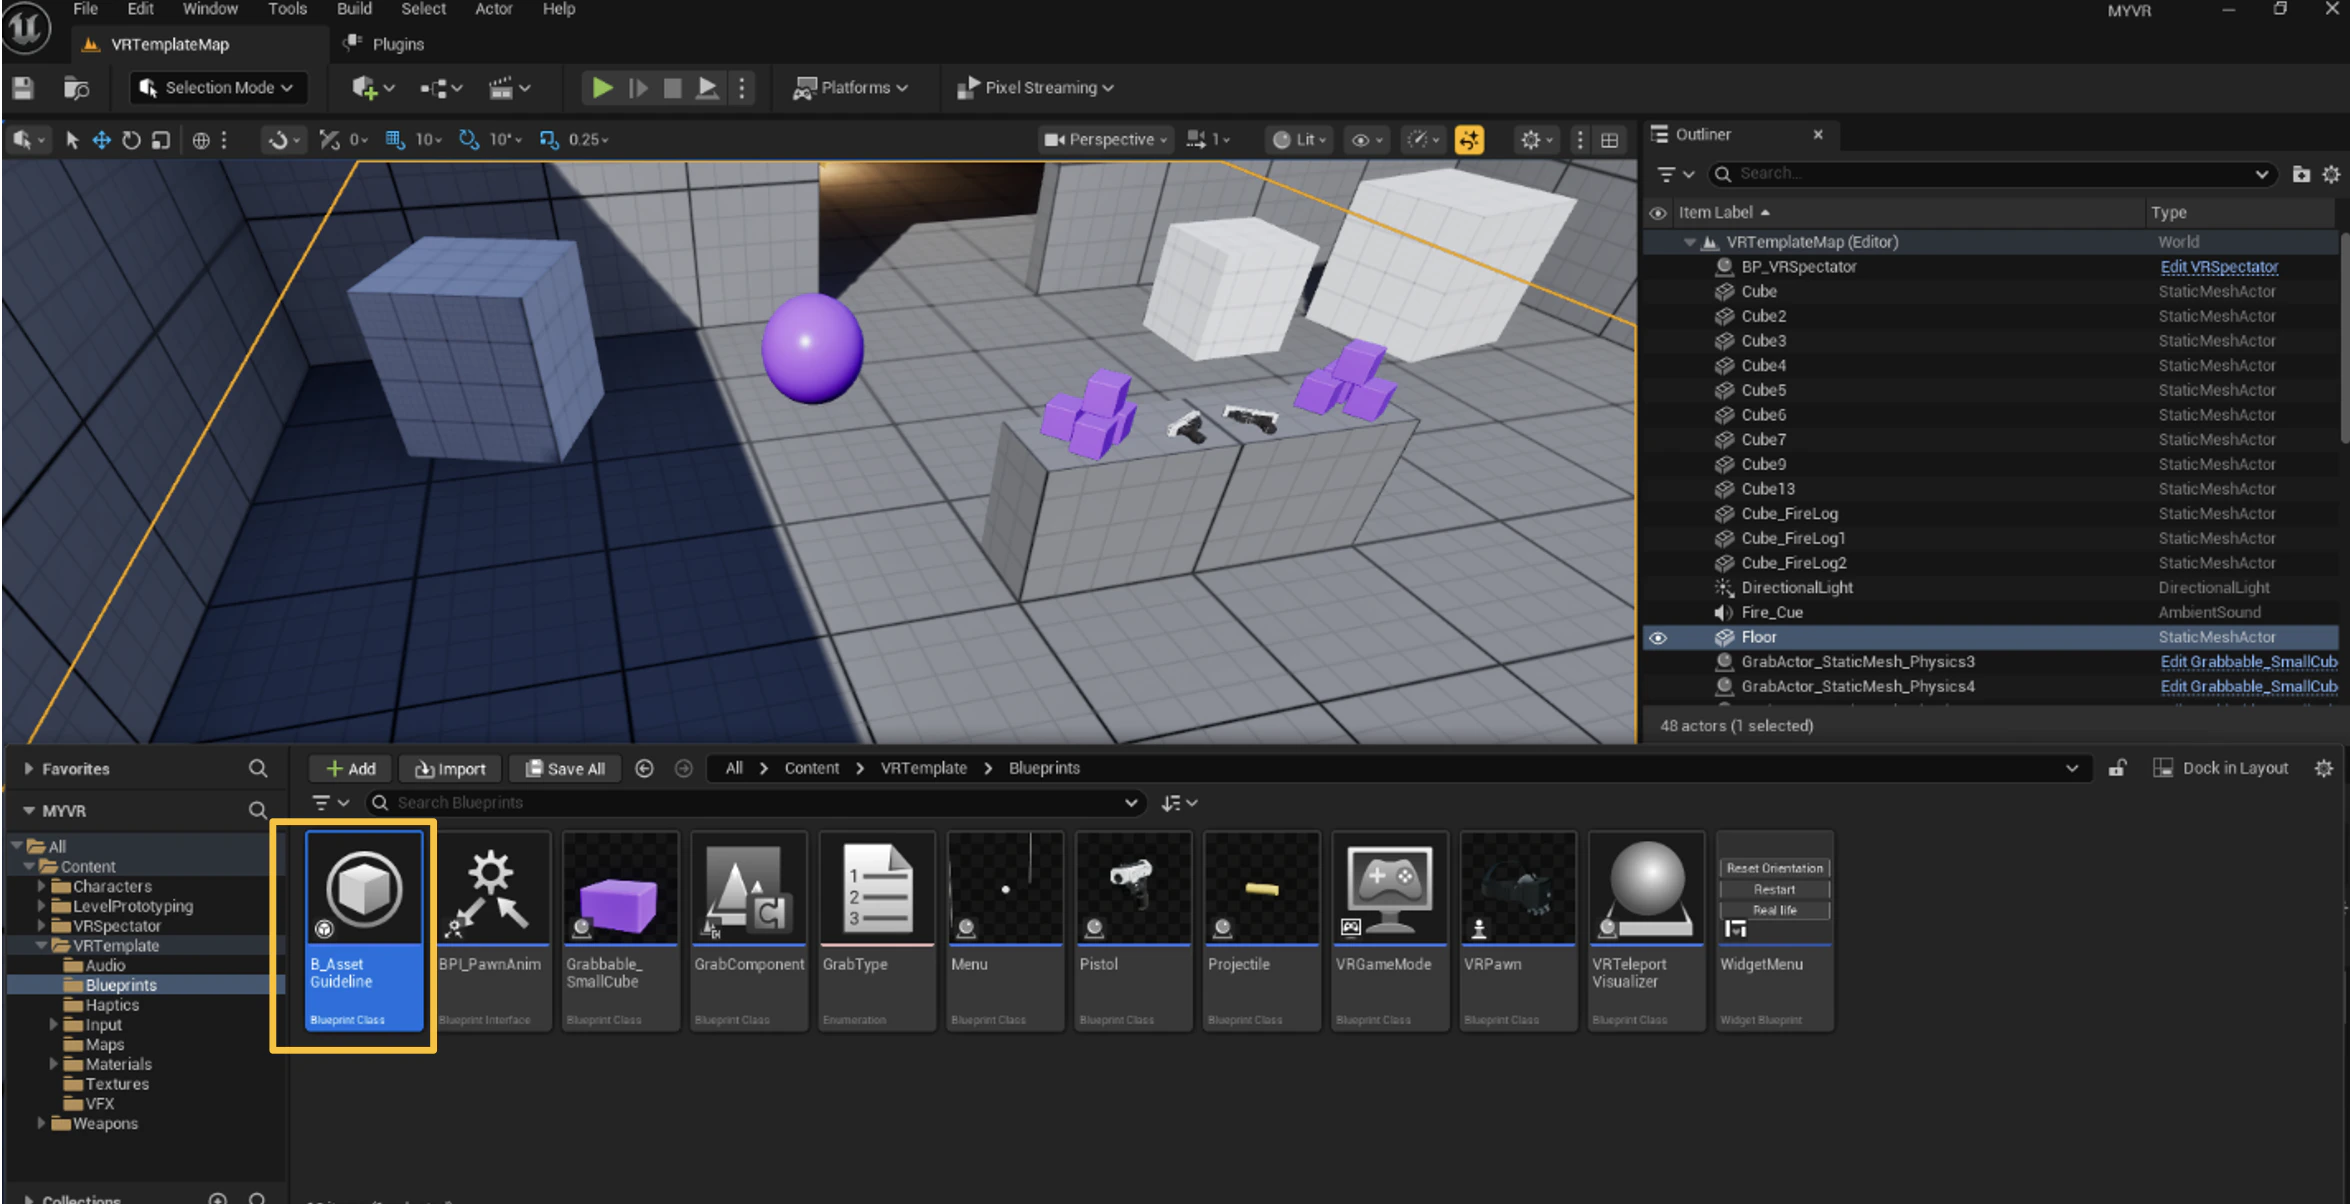
/All/Game/VRTemplate/Blueprint/BP_AssetGuideline.3
Force delete
Select, press Delete, click Force Delete.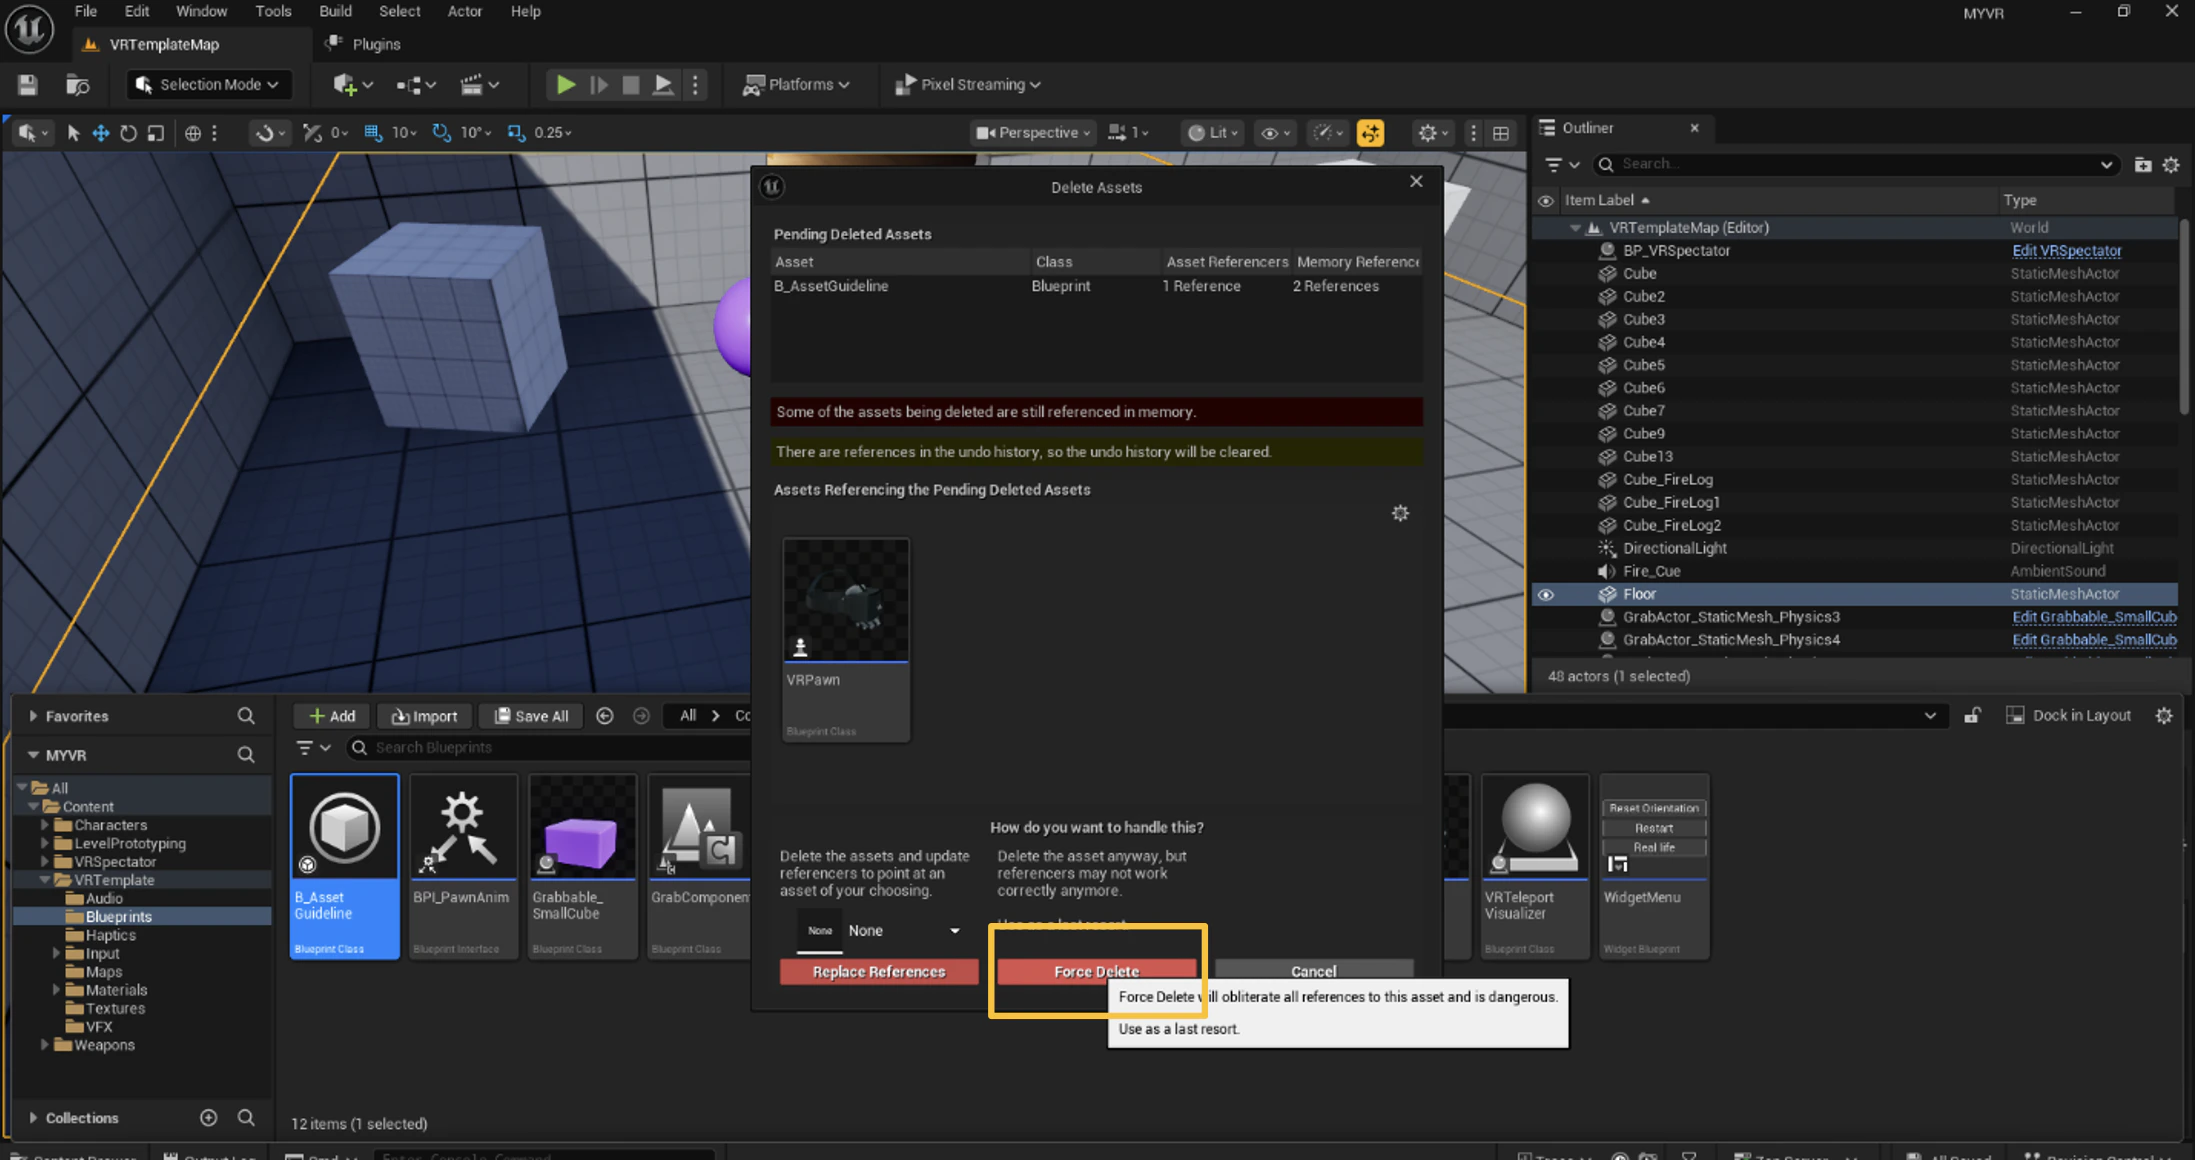
5. Patch the TryTeleport function
The default teleport drops the player below floor level when streamed. Add 100 to the Z value to fix it.1
Open the VR Pawn blueprint
In the Content Browser.
2
Open the TryTeleport function
Left panel My Blueprint → Functions → TryTeleport.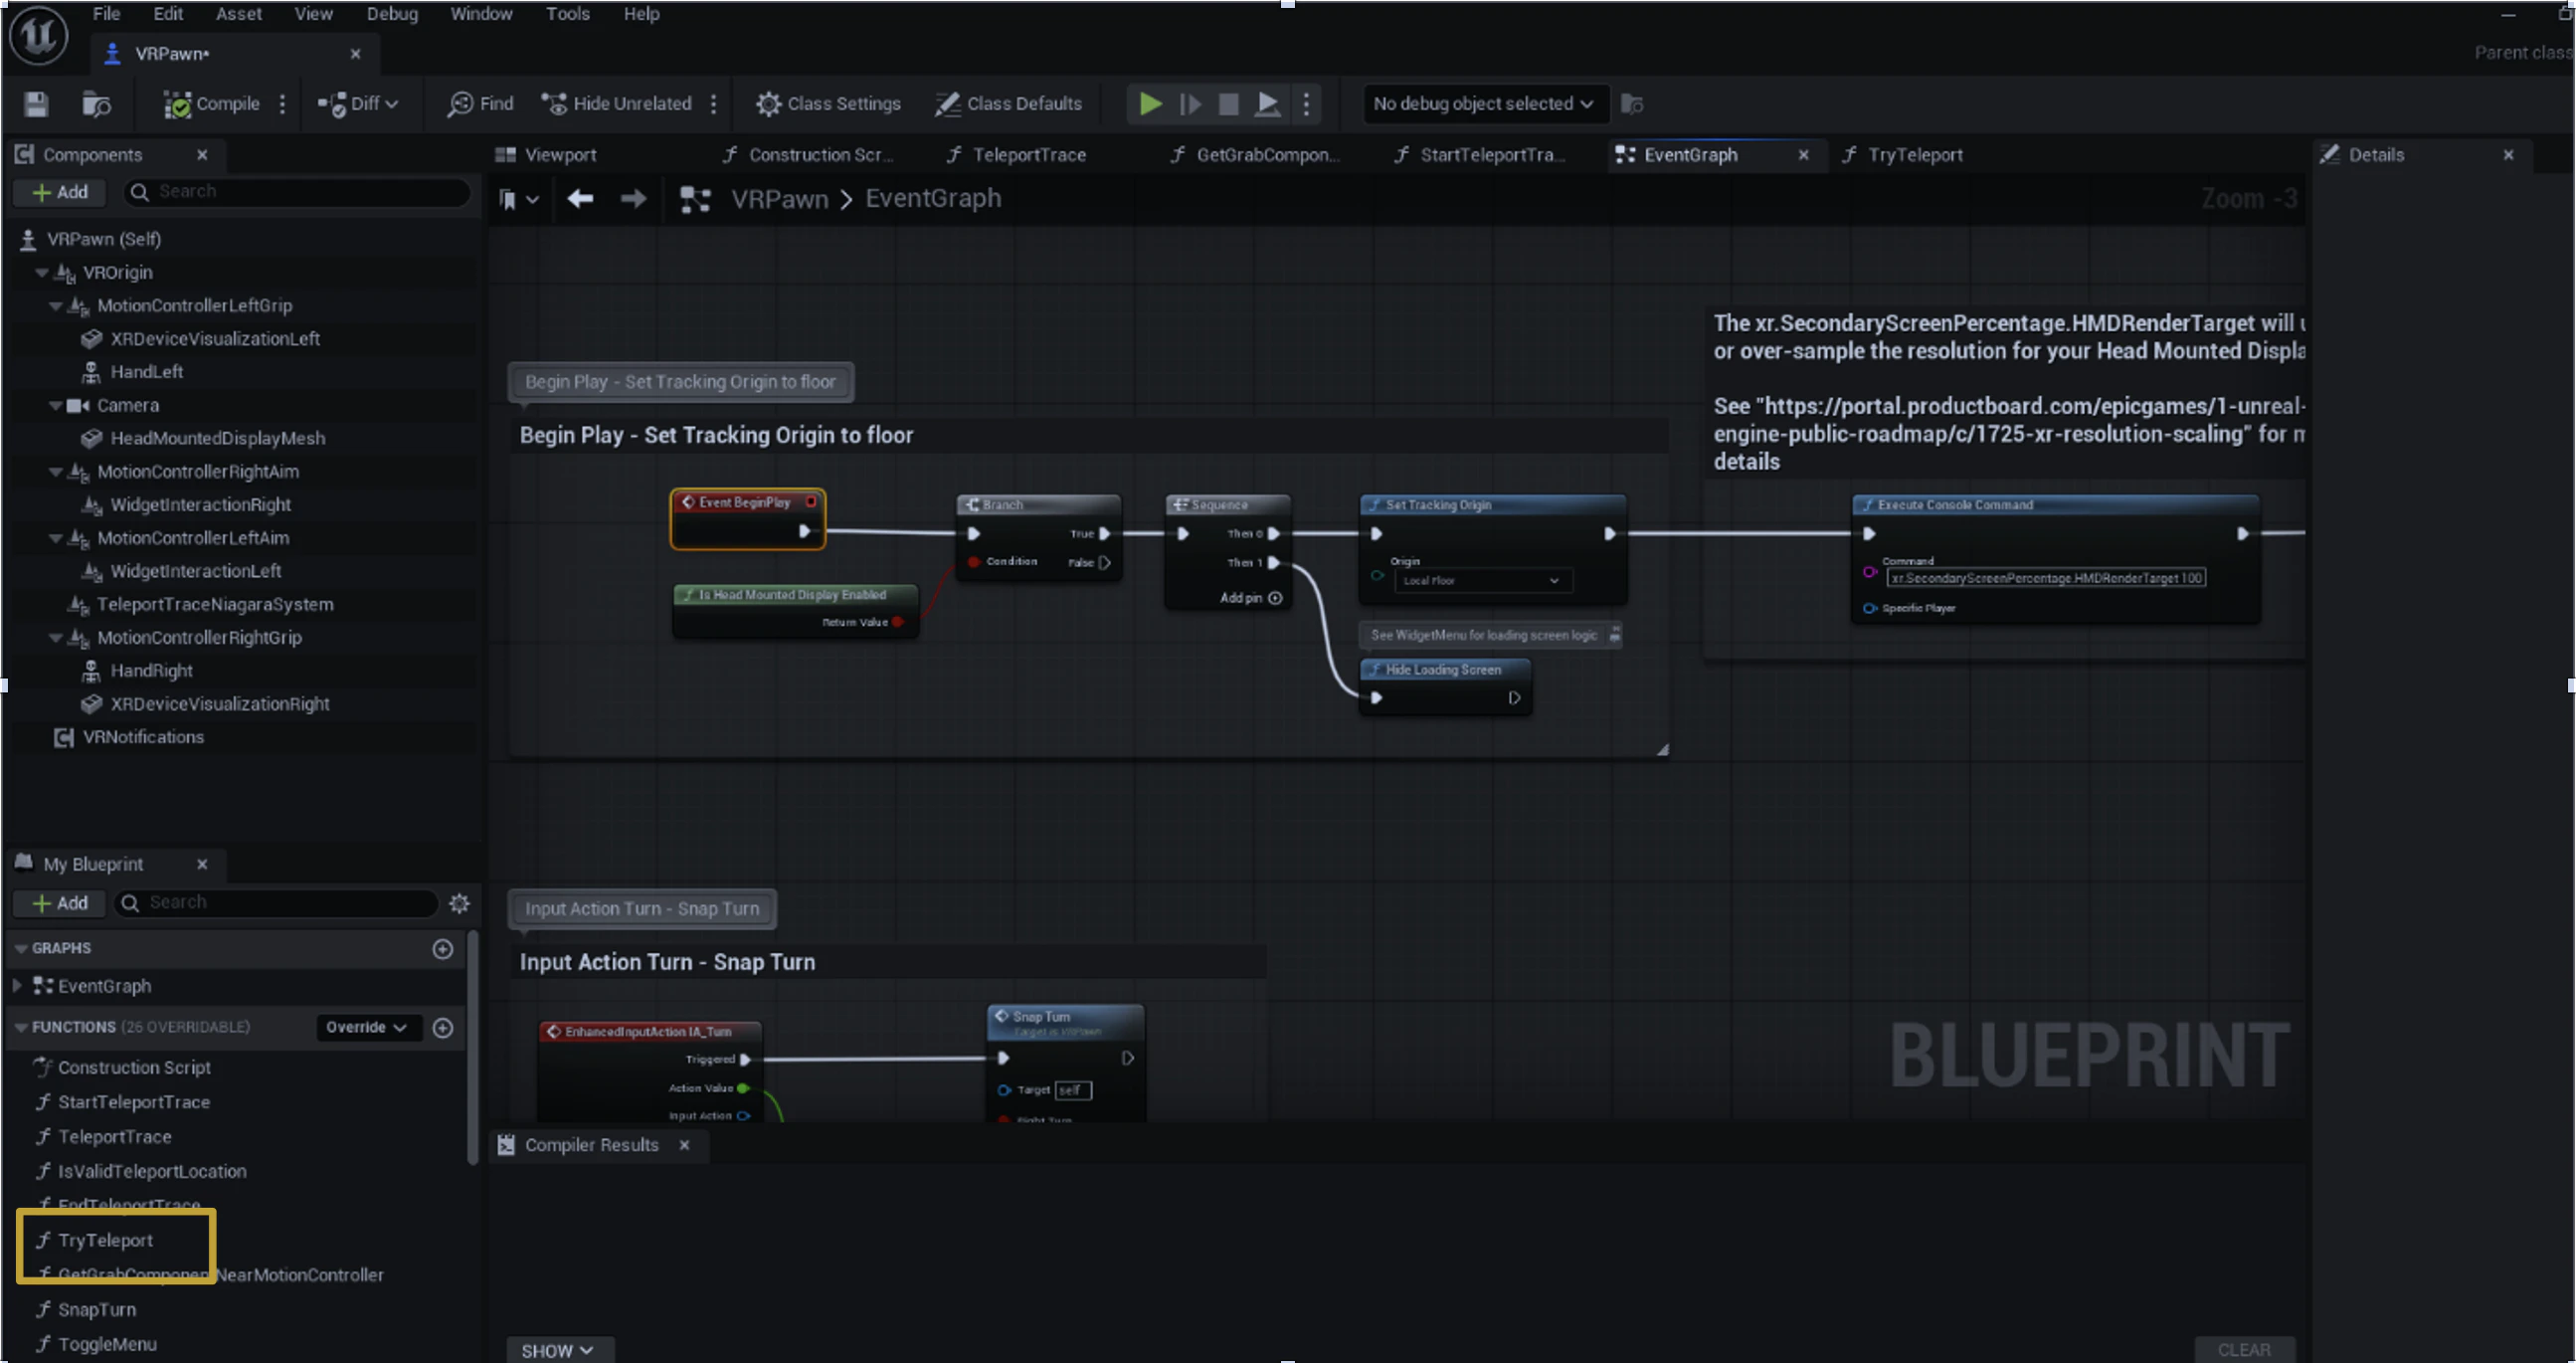
3
Add 100 to the Z value
Insert an Add (+) node, set the value to 
100.4
Compile and save
6. Package and zip
1
Package for Windows 64-bit
Top toolbar → Platforms → Windows → Package Project → Windows (64-bit).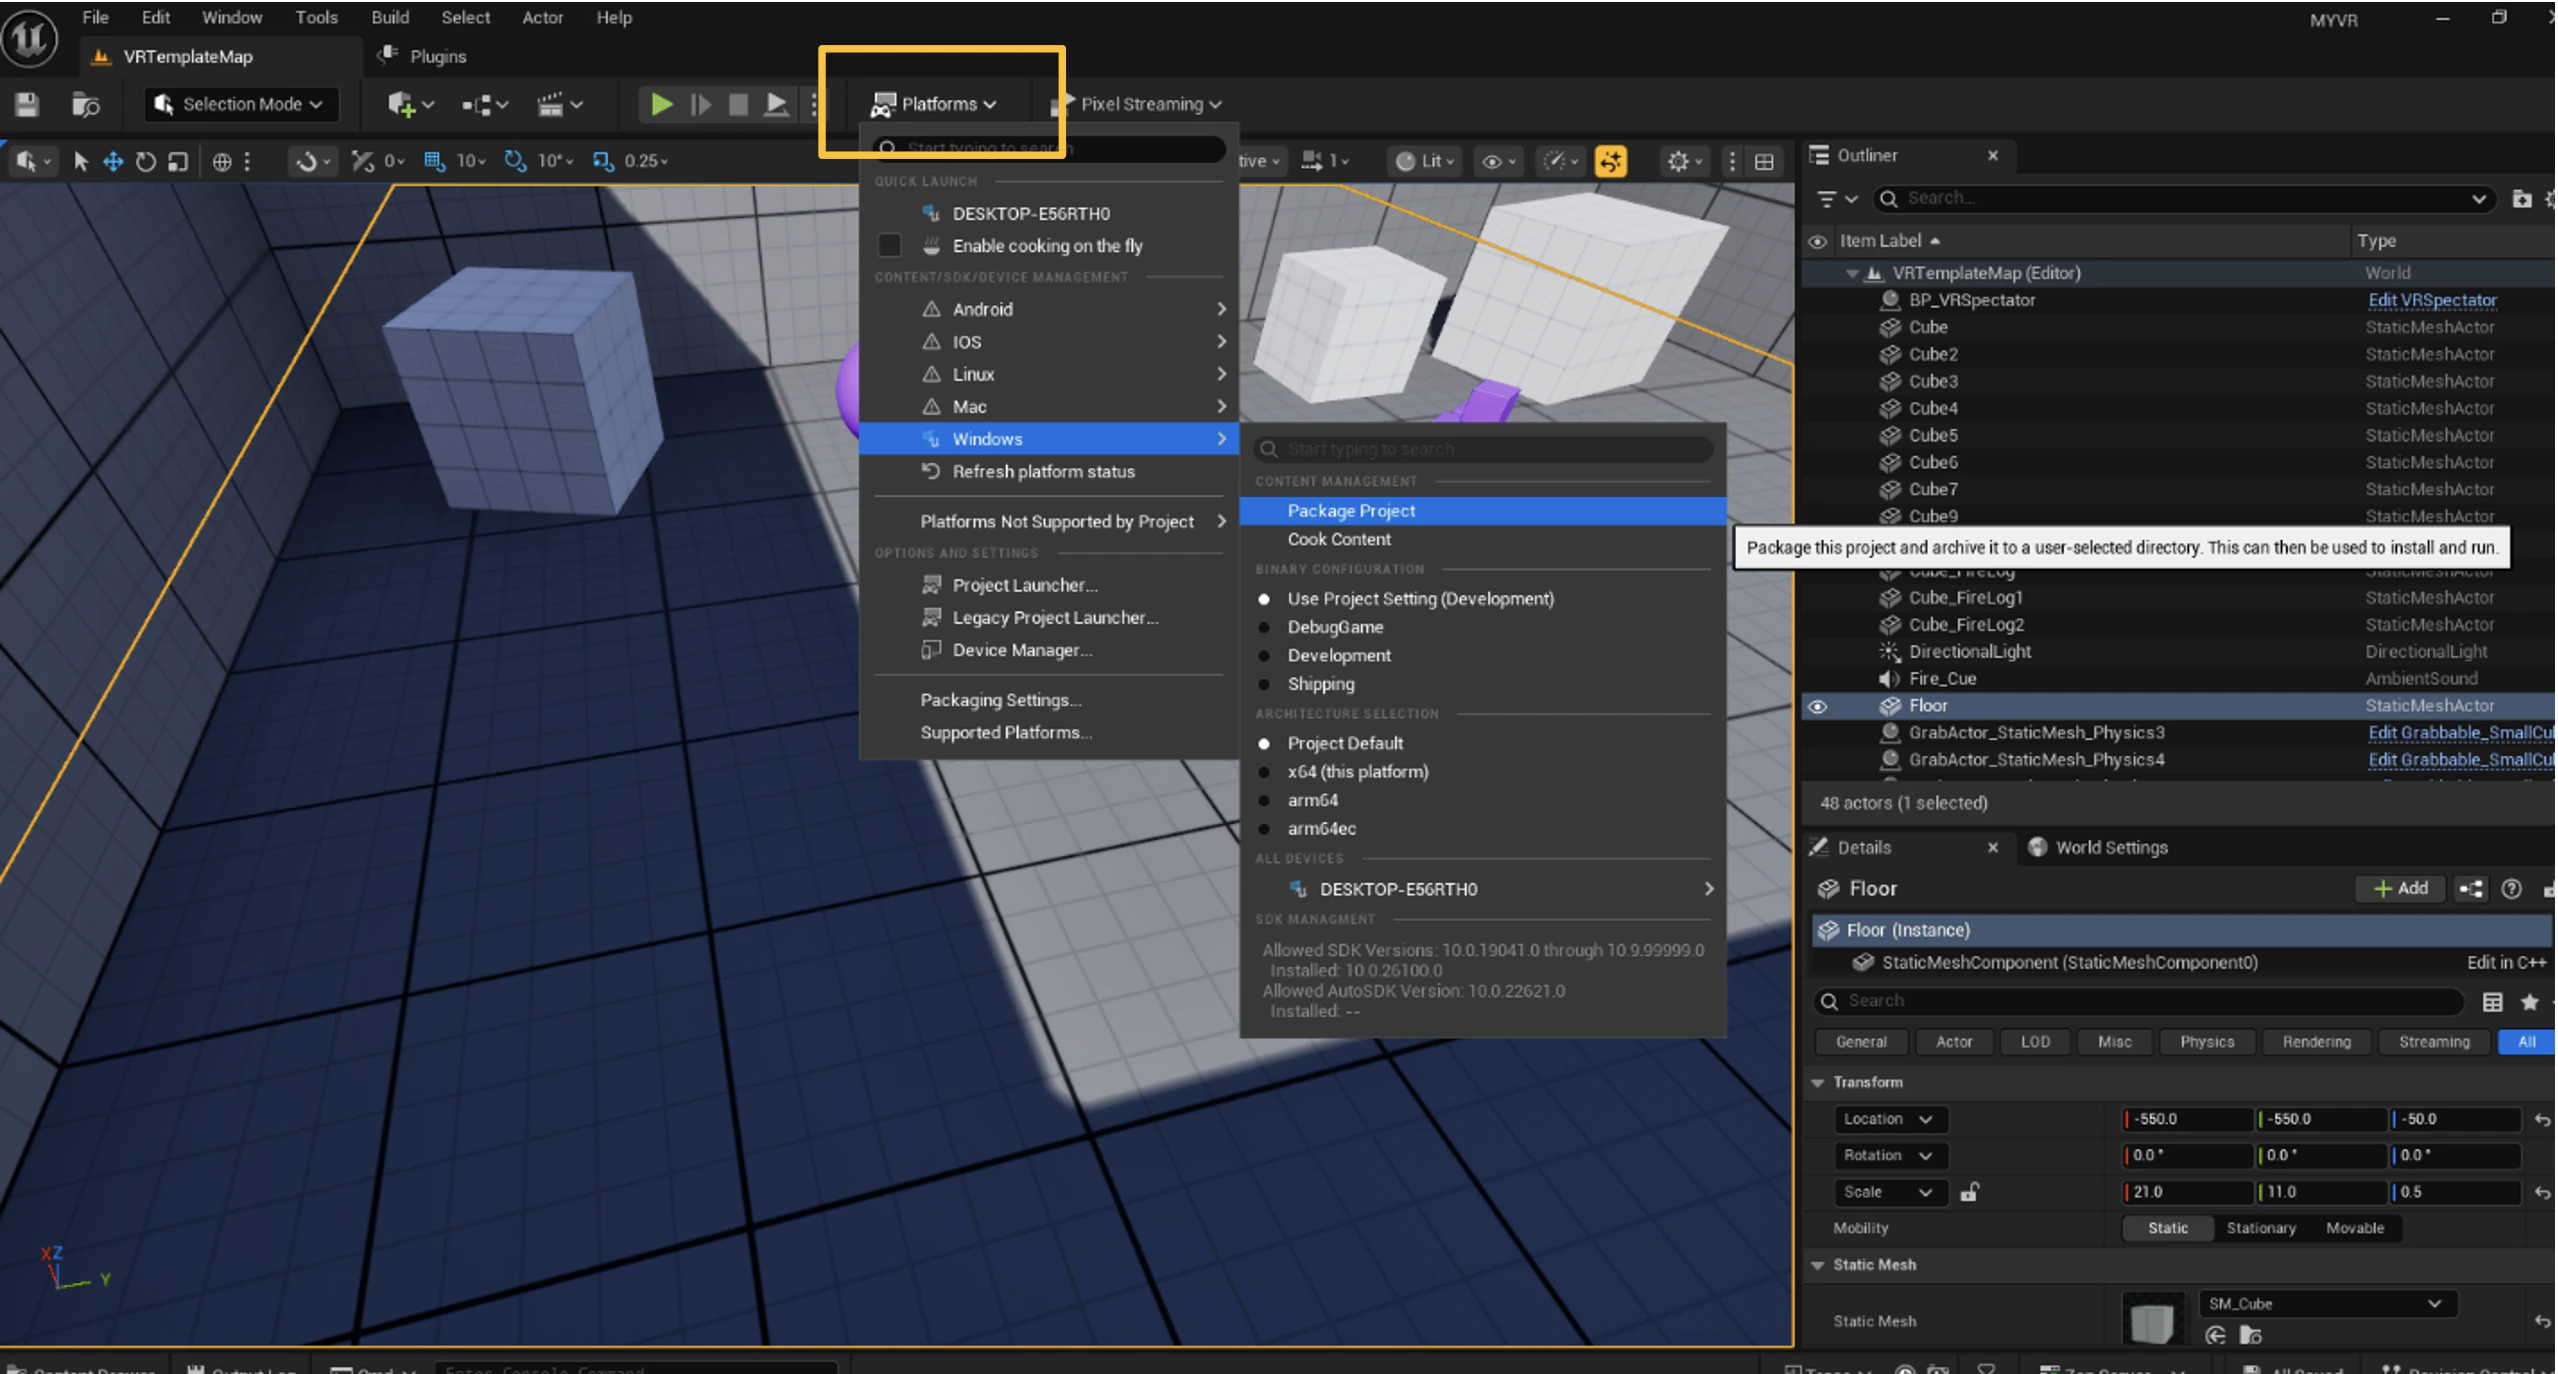
2
Zip the build folder
Open the output folder, select all (
Ctrl + A), compress to a .zip.3
Upload to Streampixel
Upload the zip from the dashboard or via the Upload File API.
7. Enable WebXR input in the dashboard
After uploading, open your project’s Settings → Input tab in the dashboard and toggle XR on. Without this, the headset’s controllers and head pose won’t reach your build, even if the rest of the VR setup is correct.Next
VR web integration
Recipe for embedding the VR build with WebXR controls.
Upload your build
Get the zip onto Streampixel.