Requirements
The 24 GB cap is a soft limit, set to discourage accidental abuse — not a hard ceiling. If your build is genuinely larger, raise a support ticket from the dashboard → Support with your project ID and the size you need. We’ll raise the limit at no extra cost. There’s no hard upper bound on build size.
Upload from the dashboard
1
Open your project's Builds tab
From the project page.
2
Click 'Upload New Build'
Drag your
.zip in or paste a public download URL.3
Wait for processing
Track progress in the Builds list. The build moves through several states before going live — see Build statuses for what each one means.
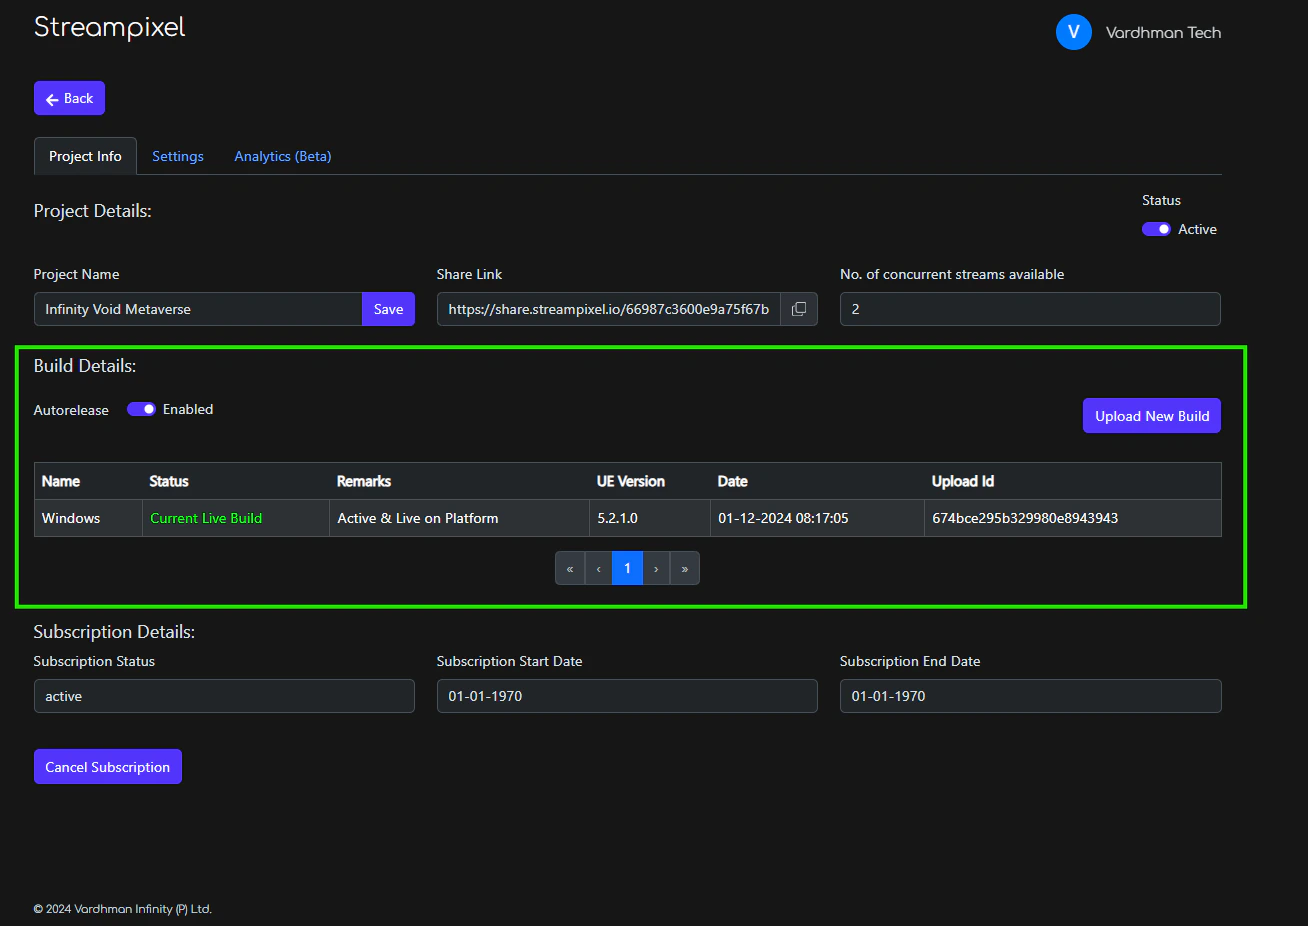
Build Details
Only one build uploads at a time per project. Wait for the current upload to finish.
Auto-release at upload time
By default, your build goes live automatically once it passes processing. Disable Auto-release at upload time if you want a staging gate before the build replaces the current live one. Full details in Builds → Auto-release.Next
Manage builds
Auto-release, rollback, tag, copy, and delete builds.
Share your stream
Get your share link and embed it.
Build lifecycle
What each state means in detail and how to handle rejections.