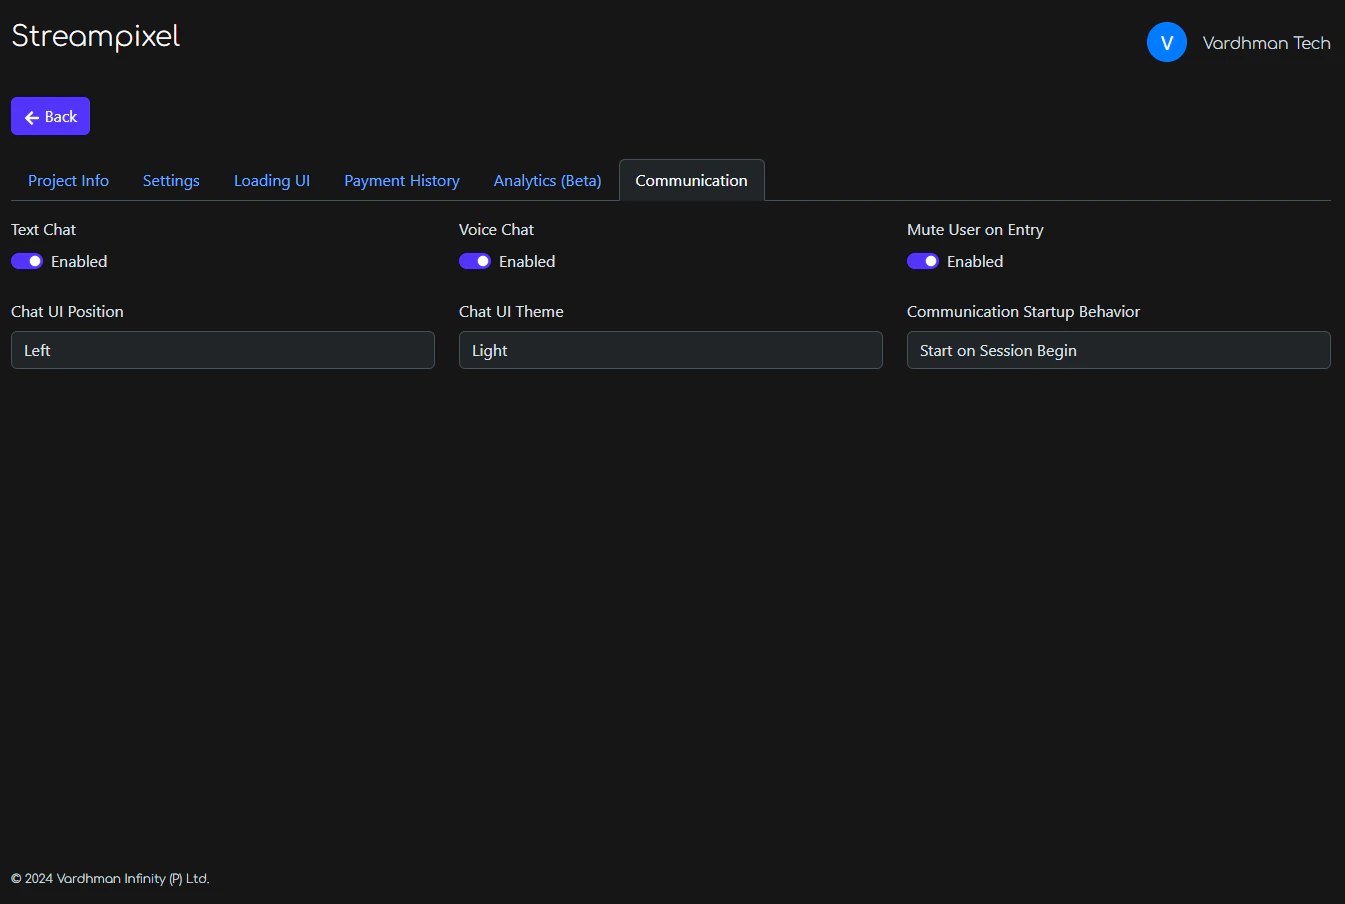
Settings
The Chat UI settings (position, theme) apply whenever any of the three chat modes is enabled.
Video chat
With Video Chat on, viewers in the same room see each other’s camera feed alongside the stream — turn a shared session into a face-to-face walkthrough, sales demo, or design review without leaving the page. The browser asks each viewer for camera permission before their video starts.Video Chat shows viewers to each other. It’s separate from the Camera toggle in the Input settings, which sends a viewer’s webcam into your Unreal application for the app itself to use.
camera (and microphone for voice) in the iframe’s allow attribute — see sharing and embedding.
Startup behavior
Programmatic control
To start or stop chat at runtime — and pass a real display name, avatar, and room — set Startup Behavior to On App Trigger and send a JSON message from your Unreal app or frontend.Connect
Disconnect
Sending the message
- From Unreal
- From an iframe
- From the Web SDK
Use the 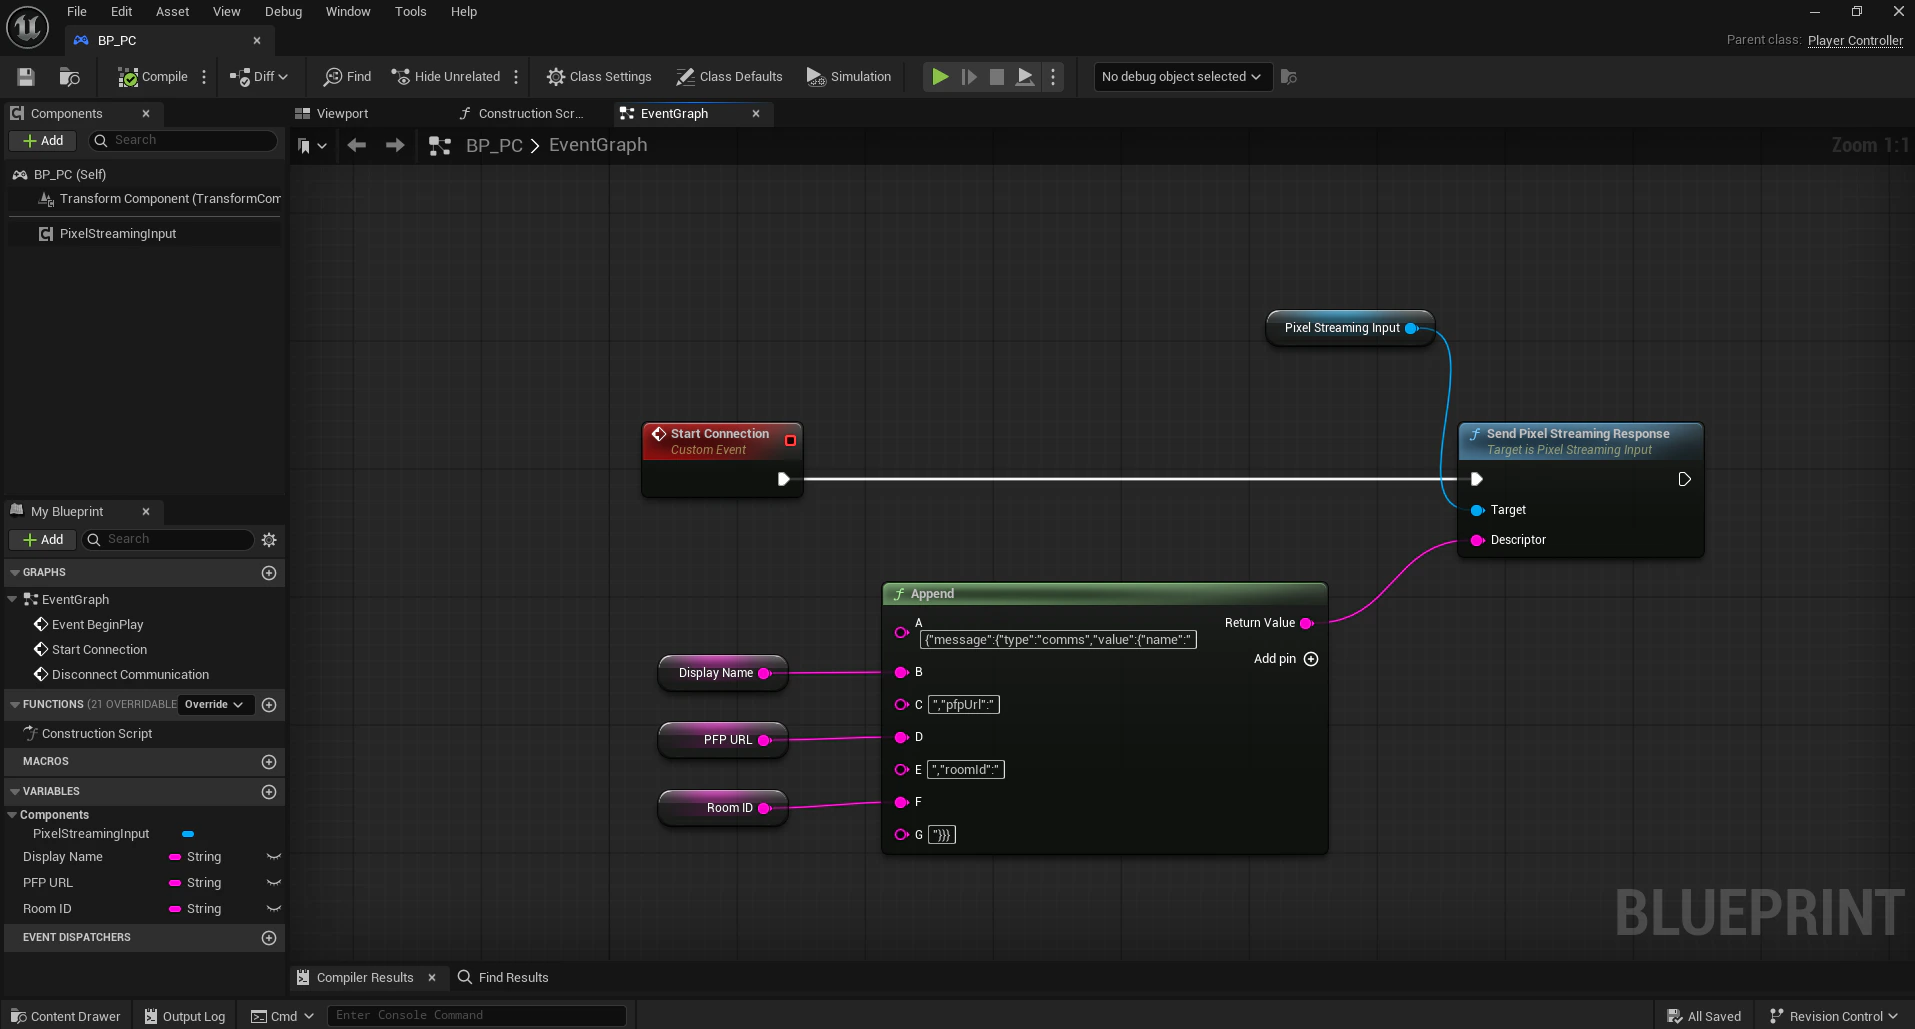
Send Pixel Streaming Response Blueprint node with the JSON as a string.