Password protection
Set a password and viewers must enter it before the stream loads.- Open Project Settings → General.
- Enable Password Protect.
- Set a password and save.
- Share the password with intended viewers only.
Domain restrictions
By default your stream embeds anywhere. Whitelist domains to lock embedding to your own sites.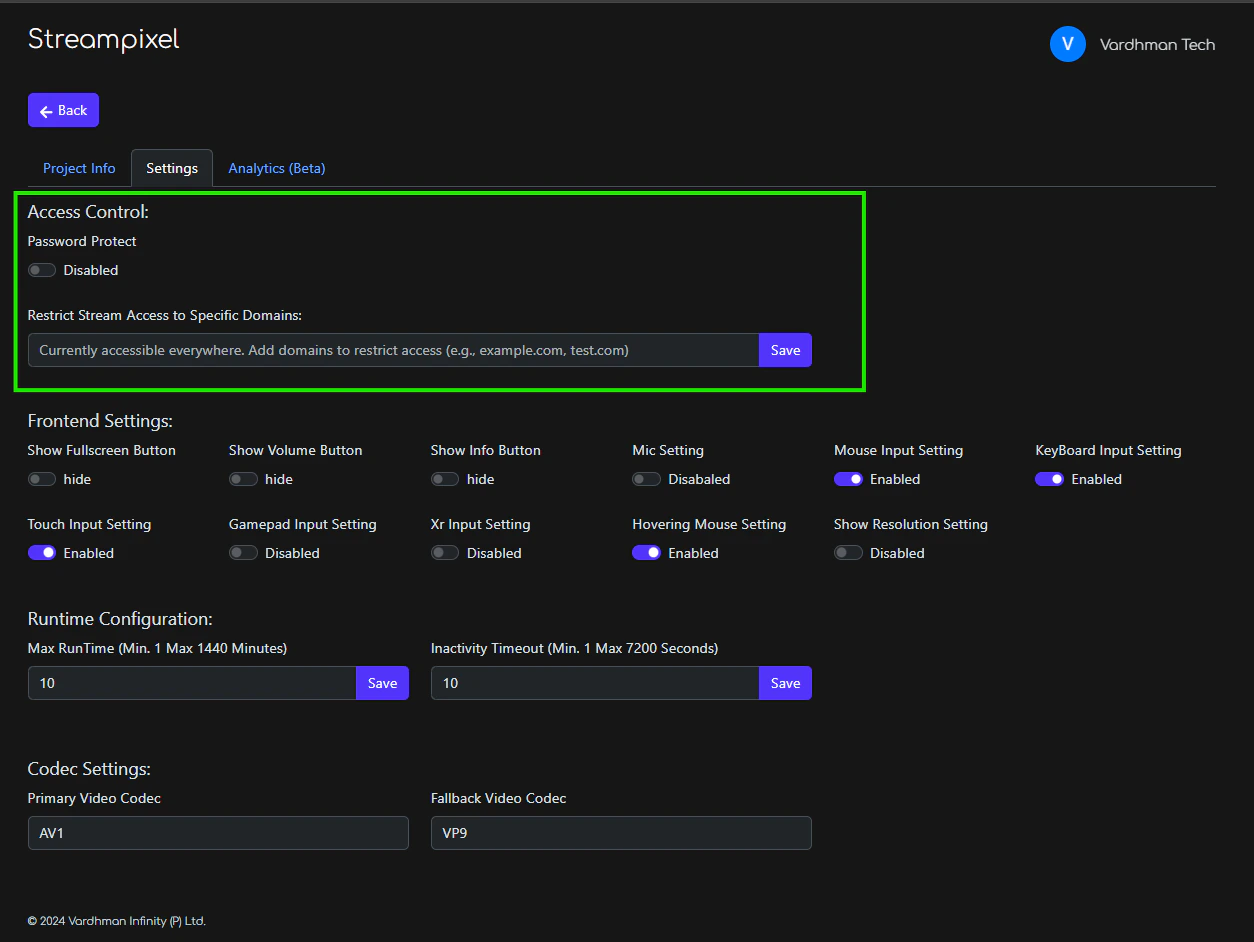
Access Control
Next
Custom domain
Serve the stream from your own domain instead of share.streampixel.io.
Security hardening
Full production checklist beyond the dashboard toggles.